The first method: Creating a custom Quickletter that is blank
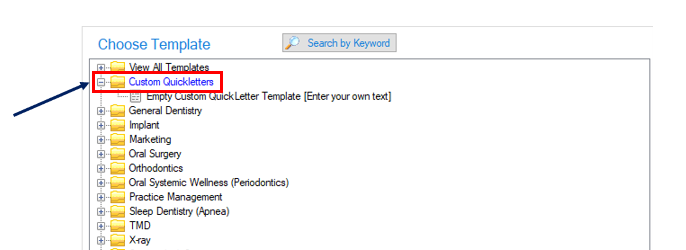
Step 1: Select the + symbol next to the “Custom Quickletters” folder
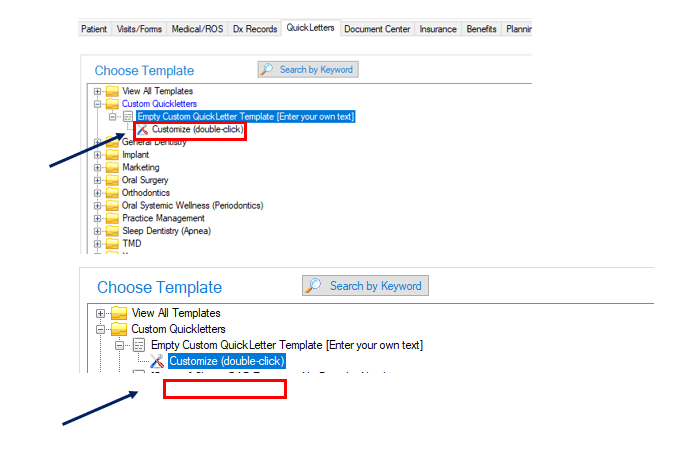
Step 2: Double click on “customize” under “Empty Custom QuickLetter Template (Enter your own text).
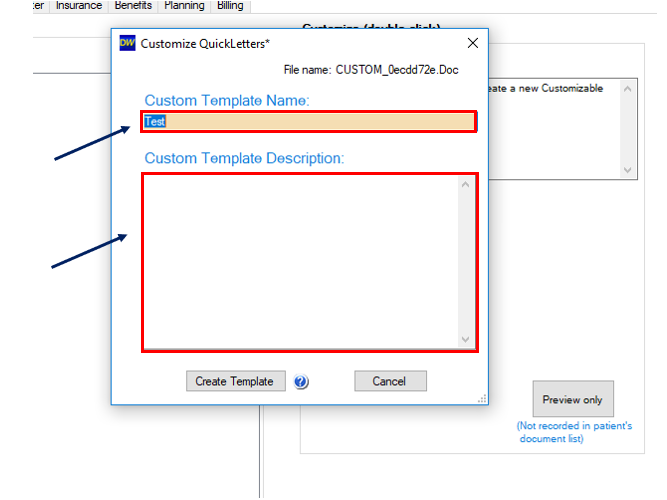
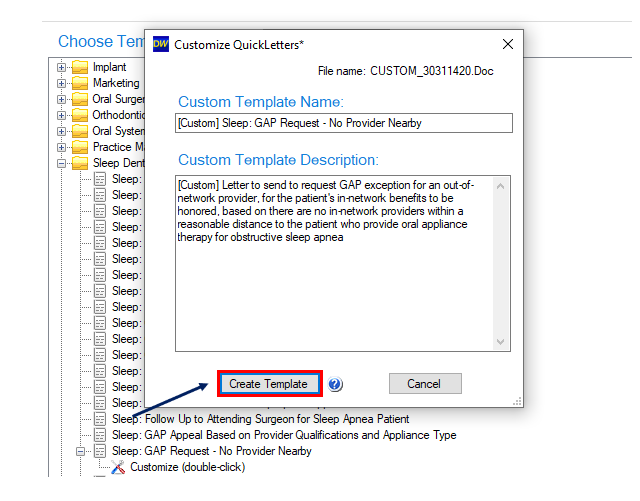
Step 3: You can now name/label the QuickLetter and then select “Create Template”.
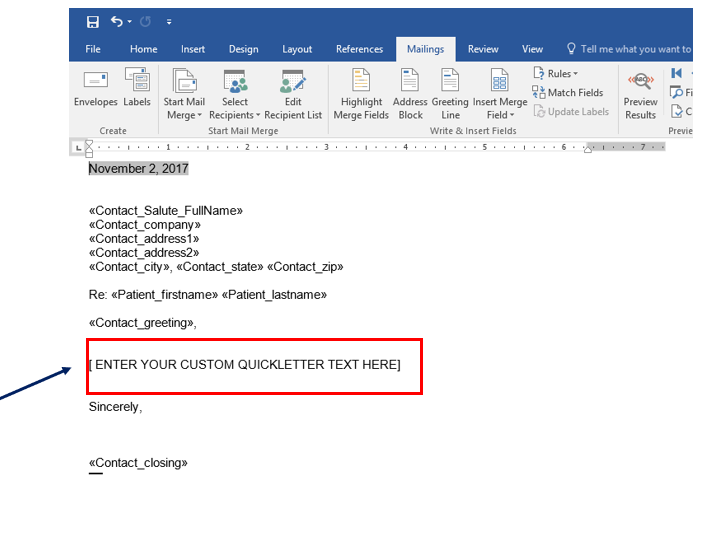
Step 4: A word document will open up and you can remove “ENTER YOUR CUSTOM QUICKLETTER TEXT HERE” and add information gathered from another template you have or from scratch. Once information has been added to it, save and close the word document. Keep in mind, if you want to add “merge fields” we have another KB article on that.
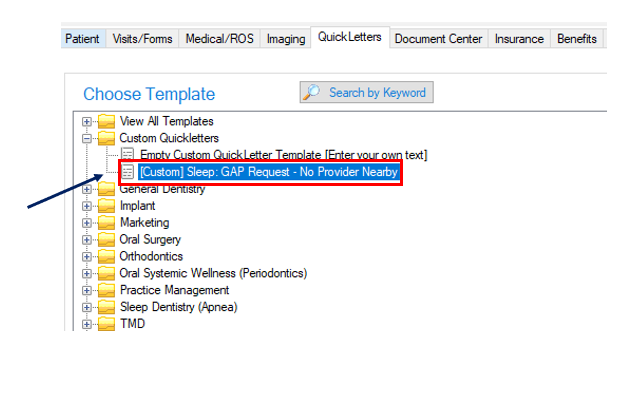
 You will now have access to the custom letter under the “Custom Quickletters” folder in any patient chart.

The second method: Creating a copy of an existing Quickletter and then customizing it.
Step 1: Select the folder that contains the quickletter you would like to edit/customize or use the “Search by keyword” box to look for it.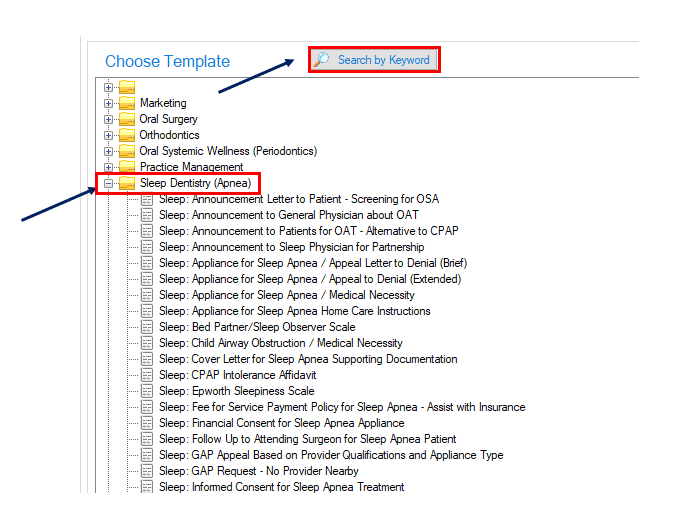
Step 2: Highlight or click on the letter you would like to customize.
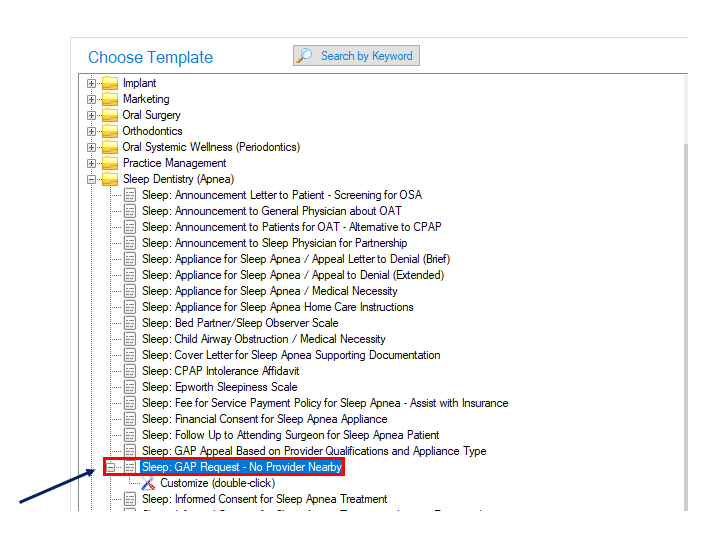
Step 3: Double-click where it says “Customize” to pull up the Custom Template Name/Description box. You may change the name/description if needed and then select the “Create Template” Icon.
Step 4: Once the letter generates in Word. Go ahead and make any edits to the custom template.
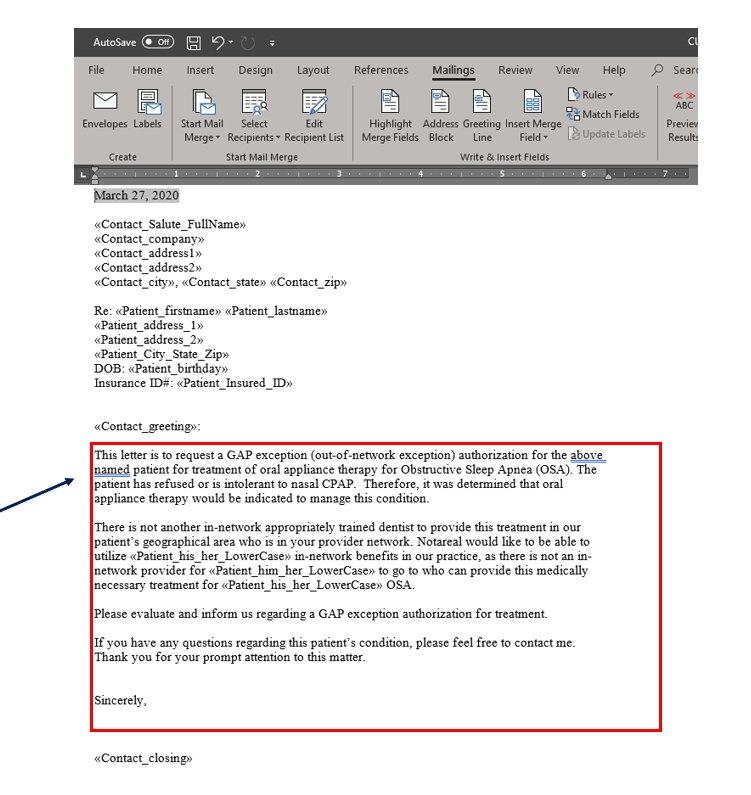
Step 5: Once the changes have been made to the template save and close the Word document.
Your custom template will now show in any patient chart under the “Custom Quickletters” folder where it can be modified or deleted as needed. Keep in mind, this will not remove the original template, it merely created a copy of it with the custom text added or removed.