Provided are some of the features and steps to start using the SFax feature for DentalWriter.
Send a generated letter or narrative from the Document Center in DentalWriter
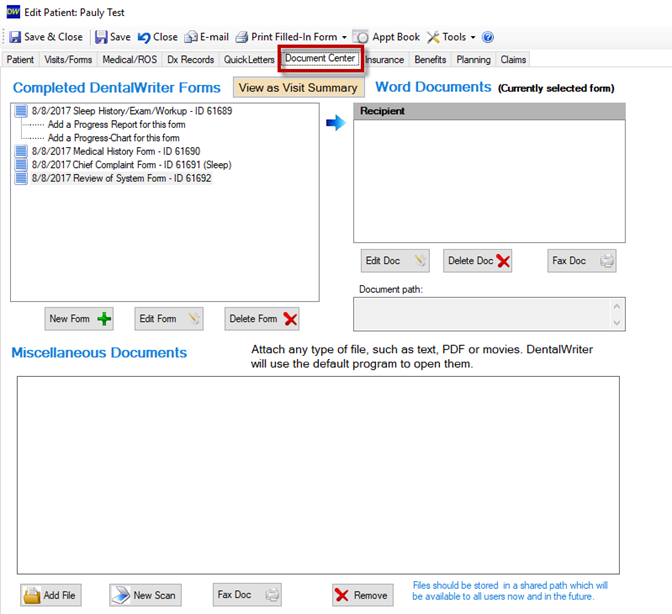
Double-click and open a patient record, then select Document Center tab.
Document Center
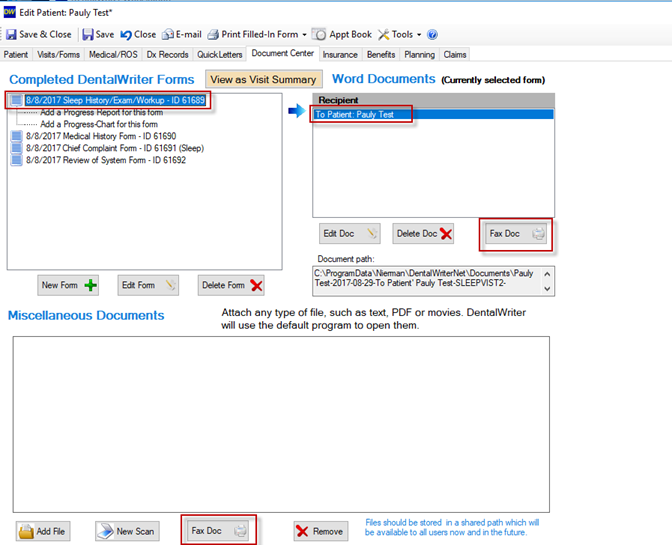
Next, click and highlight any visit in which a letter was created for, Miscellaneous Document, or even a QuickLetter then select the Fax Doc button.
Manually enter recipient name and Fax number or choose Select from Contacts list if already added there, then Send Fax.
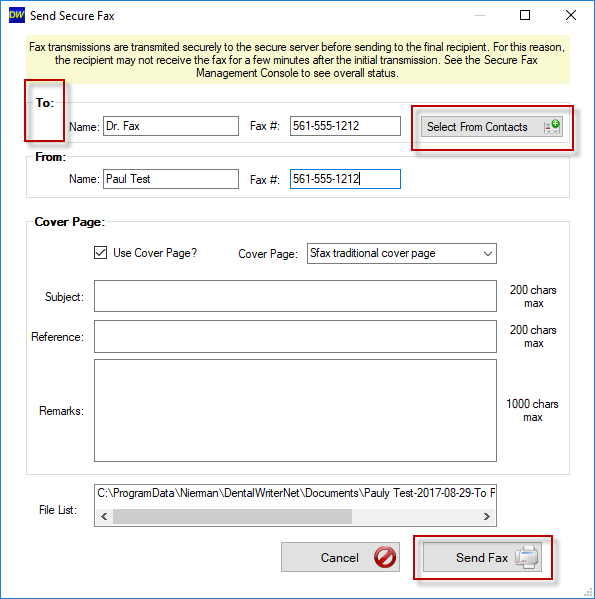
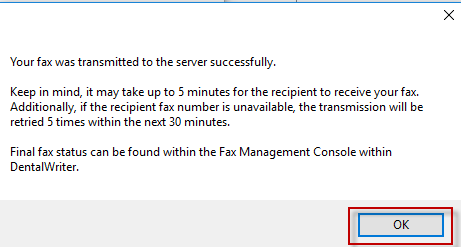
Important: Fax transmissions are transmitted securely to the secure SFAX server before sending to the final recipient. For this reason, the recipient may not receive the fax for a few minutes after the initial the initial transmission. See the Secure Fax management console to see overall status.
A dialogue window will load indicating that transmission was successful. Select OK.
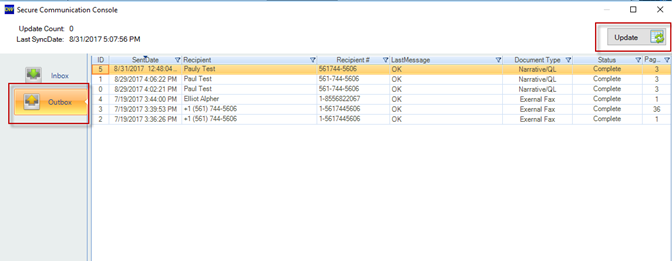
Check and confirm your fax transmission status in Fax Management Console.
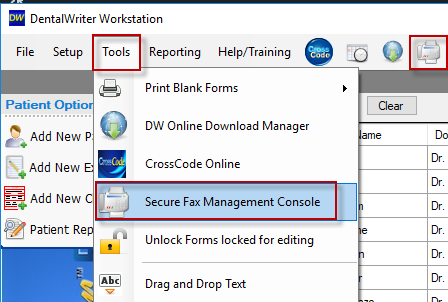
From the main menu bar of DentalWriter select the Tools, Secure Management Console. Alternatively, you can select the Fax Machine Shortcut Icon.
The Secure Management dialogue window will open, then select the Outbox button. A history of fax transmissions will be displayed. Also, use the Update button to refresh your view.
To receive an SFax secure fax and add to DentalWriter Patient Record
Provide your contact your secure fax number provided and setup for you by DentalWriter Technical Support team. Then request fax be submitted to that number.
From the main menu bar of DentalWriter select the Tools, Secure Management Console. Alternatively, you can select the Fax Machine Shortcut Icon.
The Secure Management dialogue window will open, then select the Inbox button. A history of fax transmissions will be displayed. Also, use the Update button to refresh your view. Then select to Link to Patient.
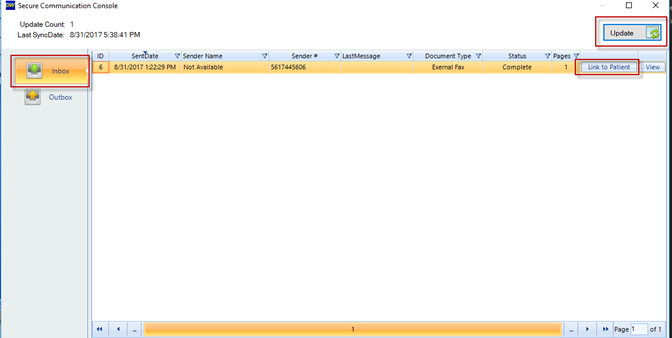
A patient list dialogue window will open. Determine you search criteria, ie Last Name, First Name, the click the Select button.

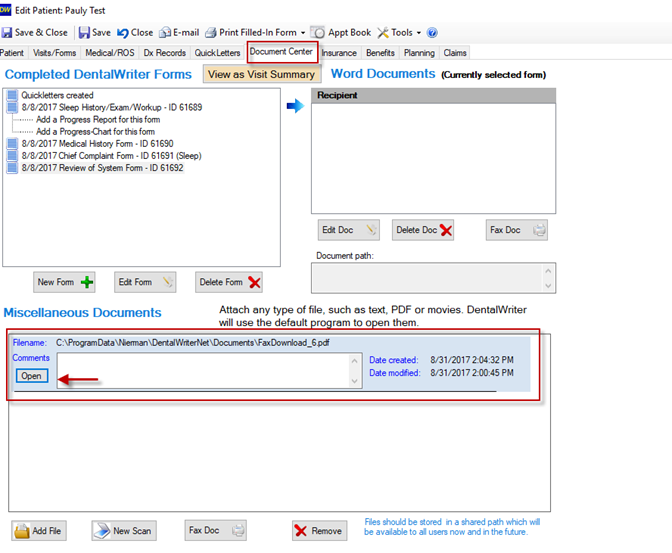
The file confirmation download page will load also indicating the location where the file is now stored and where it is located in the document center in Miscellaneous Documents portion of the patient form.
Next open patient record that was chosen to link the document to, then select the Document Center, and view bottom of page for record just added.