Including merge fields with patient data in the page headers or footers of Word templates used with Narrative Reports
From the main DentalWriter menu select Setup -> Configuration Options -> Report Personalization page. There is an option at the top titled Default Word template for Narrative Reports. This is where you select an existing Word template you have created:

Creating a Word template is described elsewhere in Microsoft Word documentation and is not covered here. So for our purposes we will assume you already have a Word Template.
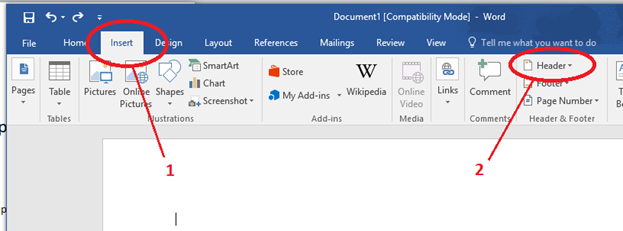
To create a page header open the template in Word and then select the Insert menu option. Then select Header as in this image:
You will then see the Page Header area and menu options, similar to this image:
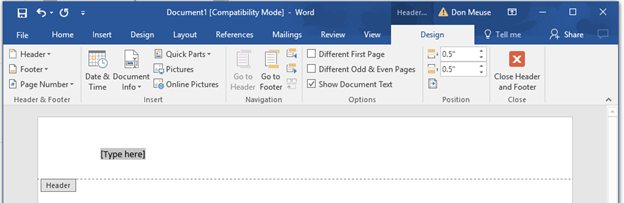
You can type in any text or insert any images you wish in the page header and they will appear on all pages by default. When you have finished click the Close Header and Footer button in the upper right.
You can create an elaborate Letterhead if you wish. But for our purposes we will only discuss including patient data in the page header.
The patient data you can include are:
- Patient First name, Last name, Middle initial and Title.
- Address line 1
- City, State and Zip code
- Patient date of birth
- Patient gender (Male/Female, blank)
- The patient’s Doctor’s name from the patient chart.
To include this patient data you use the keyboard to type in “merge markers” where you want the patient data to go. These markers are simply the names of the data enclosed in < > brackets, and are listed below.
If you wanted to include the patients name and address in the page header you would type this:
<firstname> <lastname>
<address1>
<citystatezip>
The result in the final Narrative document would be the current patient’s name and address at the top of every page.
The available patient merge markers are:
<firstname>
<lastname>
<title> (Mr., Mrs., etc.)
<address1>
<citystatezip>
<gender>
<dob> (prints Date of Birth)
<doctorname>
You can type the markers (shown in red above) where you want them, or copy and paste them from this document. The exact spelling is important. But remember to change the color from red to black if you do copy and paste them!
SUGGESTIONS: By default, DentalWriter Narrative letters already include the patient’s name and address in the body of page 1, so you don’t need this data shown again in the header of page 1. You could put the patient’s name at the top of all pages after page one by using a Word option to do just that:
Step 1: Create the Page Header as described above. Enter the patient merge markers you want, as described above.
Step 2: Click on the Different First Page button to put a checkmark in

This creates a separate First Page Header. Put any company name, text or images you want in it, but don’t include any patient merge markers.
To switch between the First Page and Subsequent Page headers just check or uncheck the [X] Different First Page checkbox.
You can use the same techniques to create Page Footers which will appear at the bottom of the first or all pages.
Here’s an example of using captions in front of the merge markers:
Patient: <firstname> <lastname>
Address: <address1>
<Citystatezip>
Gender: <gender>
Birthdate: <dob>
Doctor: <doctorname>
Which would print out something similar to this:
Patient: John Winters
Address: 123 Elm St
Jupiter, FL 33458
Gender: Male
Birthdate: 07/16/1972
Doctor: Dr. James Smith