.png?height=120&name=DentalWriter%20Plus%20w%20shadow%20(1).png)
Learn how to send secure fax messages in DentalWriter Plus+.
Sending Fax messages
To send a secure fax using DentalWriter Plus+, access the patient's chart and click on Document Center.
From the Document Center under each heading (Quick Letters or Generated SOAP/Narrative Reports), please select the fax check box to the right of each document or file that you wish to send as a fax.

 Once you click on the green "Send Secure Fax" button, a box will appear, asking for the recipient's name and fax number. You can either enter the details manually or choose from the contacts list. In addition, you will be prompted to enter the sender's name. You will have the option to include a cover page or not. At the bottom of the box, you will be able to view the document and files that you have selected.

Additional Insight
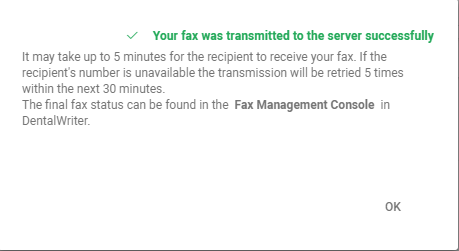
A preview of the final fax status is located in the Secure Fax Management Console from DentalWriter Plus+.